Zoetropes
To make a zoetrope you will need to print out the template and stick it onto black paper. If you haven’t got black, a dark colour, such as blue or purple will work, but black is definitely best.
Download Zeotrope Template

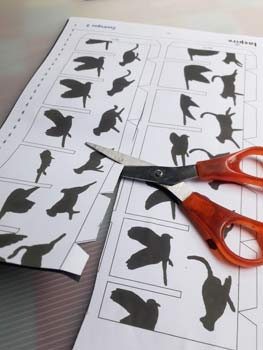
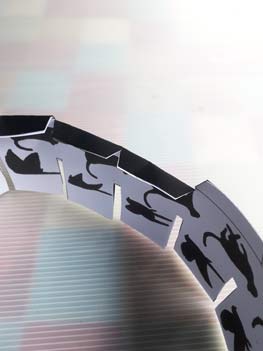
Once you have the template on black paper, cut out the two strips (don’t forget the slits – these are very important), then join the two together to form one long strip. Tail A is joined to Tab A.


Join Tail B to Tab B, so that the strip forms a circle, with the pictures on the inside of the circle. Fold the small tabs under the pictures inwards, so that they are at right angles to the pictures.

Next cut a 16 cm square of card. Find the centre by ruling two diagonals from corner to corner. Make a hole at the centre point, using the tip of a pencil.

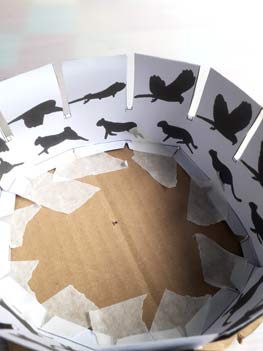
Use the folded tabs to fix the strip onto the cardboard square. Try to keep the strip in a circle, though it won’t matter if its a bit lop-sided.
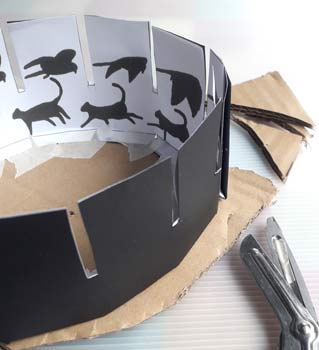
You can trim away some of the cardboard, so that it becomes circular, following the shape of the strip (this is not essential, but makes the zoetrope easier to spin).


Now put a milk bottle top wheel onto a bbq skewer axle (for details Wheeled vehicle). Push the bbq skewer through the centre hole in the cardboard, then use sellotape or masking tape to secure the wheel to the cardboard base.
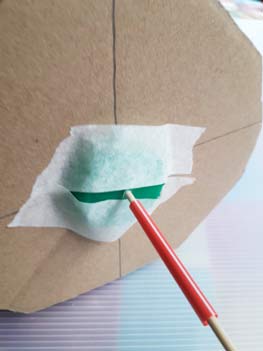
Put a short piece of straw over the skewer, as above. Make sure there is a piece of skewer showing at the end of the straw.
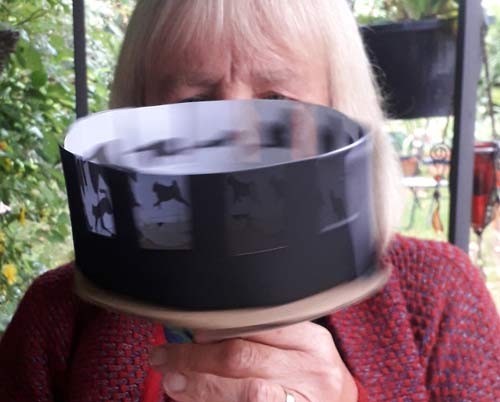
Your zoetrope is now ready to use. Turn it so that the strip is at the top and the axle (skewer) underneath. Hold the straw in one hand. Use your other hand to spin the axle. There are two animations – you see the bird flapping its wings if you spin the zoetrope in one direction, and the cat running if you spin it in the other direction.
If you look carefully at the photograph above, you will see how the zoetrope works. The top set of pictures (the bird) are just a blur, because they are not being viewed (in the photograph) through the slits. The slits make an enormous difference, by making each image distinct. You can see that with the image of the cat, seen through the slit – it is not blurred. So what you see are a number of distinct images of the cat, all slightly different, and these in turn fool your eye into making the sequence into animated movement.

