You can make windmills out of paper and straw. This design is more complicated, but it can be used to carry out a number of investigations. It is based on on a design we have been using in schools for years – but this one is based on very simple components.
You will need:
Some cardboard. Packaging delivery boxes are ideal
A milk bottle top, with a 2mm central hole drilled out (see Wheeled vehicle)
2 bbq skewers, approx 2mm in diameter
A short length of straw
Sellotape or masking tape
An empty drink bottle
Scissors capable of cutting cardboard.
Note: Strictly speaking, a windmill is a wind-powered device for grinding (milling) objects into powder – most usually grain to flour. So, as you are not going to connect your device to mill-wheels, what you are making should properly be described as a wind turbine. But most people will call it a windmill!

Cut two lengths of bbq skewer 12 cm long. Cut two squares of cardboard 3×3 cm.
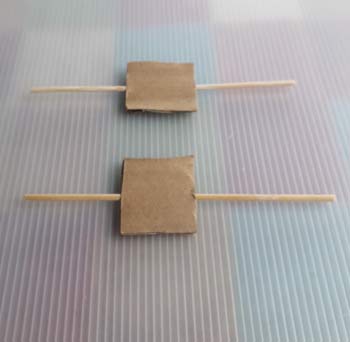
Push the two skewers through the cardboard, as shown above.
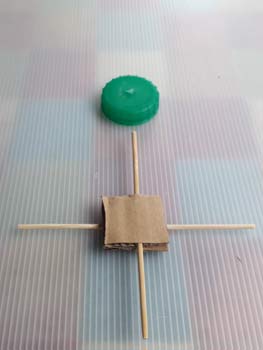
Now turn one of the squares at right angles, and place it on top of the other one.
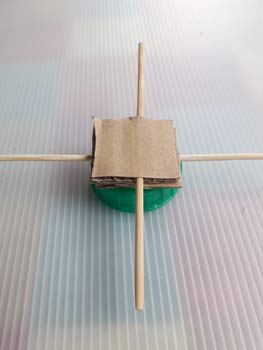
Then place the “cross” you have made onto the wheel.

Fix this assembly together with masking tape or sellotape. I have used masking tape, as it shows up better.
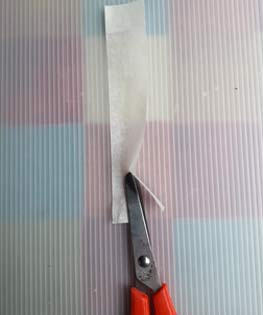
I have cut the tape in half, lengthwise, so it is 1cm wide.
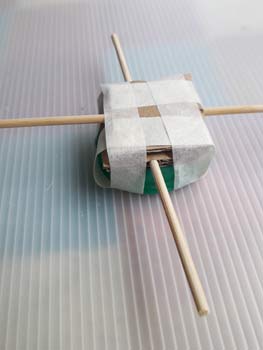
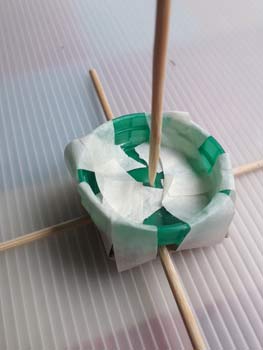
This is what it looks like from the top. Make sure you keep the hole free in the wheel, as you need to push a skewer into the hole. Make sure you keep pushing until you feel the skewer go into the cardboard. Then take the skewer out, to do the next stage.
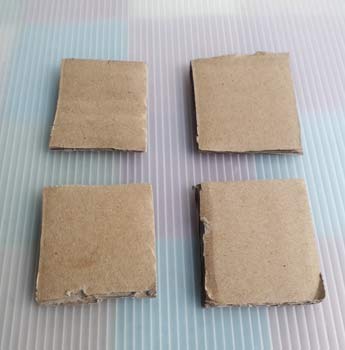

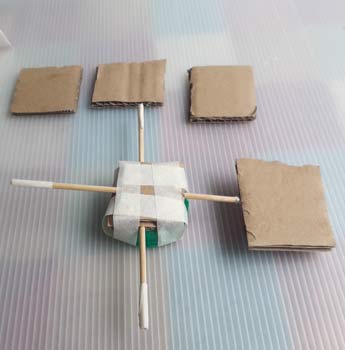

Now cut four more pieces of cardboard, 4x4cm square. These will form the sails on the arms of the windmill. The cardboard sails are quite a loose fit – to prevent them moving round wrap two cm of tape around each arm.
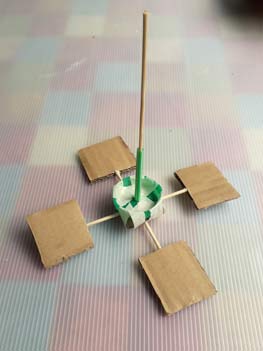

Now put the skewer back into the centre hole, and slide a piece of straw along the skewer to act as an axle guide. You can test your windmill by holding the straw and blowing at the sails. You will need to adjust the sails so they all point in the same direction – rotate the sails and adjust the one immediately under your eye. Do this so that all four point in the same direction when they are immediately under your eye. Don’t forget that when the sail is furthest from your eye it will look as if it is pointing in the other direction, because it is now upside down. Look at the arrangement in the right hand picture – the sails are adjusted ready to spin.

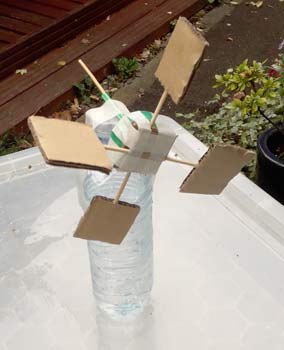
You can make a stand for your windmill from a used drinks bottle – just half-fill it with water so that it doesn’t blow over. Tape the straw to the top of the bottle. Make sure you don’t get any tape on the axle (skewer) as this needs to turn freely.
You can test differeent sail shapes and sizes on the arms of your windmill – and try different angles to set the sails. You can also investigate how much weight your mill will pick up, by taping some cotton thread on the end of the skewer away from the sails. Put some paper clips (or any other load) on the thread, and see how much your windmill will wind up when the wind blows it round.
For careers involving this sort of technology see Construction and Energy Generation
